
Github-opetusohjelma: Sinun on tiedettävä nämä perusteet
Tässä opetusohjelmassa esittelemme sinulle Githubin. Github on alusta, jossa voit hallita, tallentaa ja seurata Git-projekteja ja käyttäjiä.
Github-opetusohjelma: mikä on git?
Ennen kuin ymmärrät, mikä Github on, sinun on ensin ymmärrettävä Gitin käsite:
- Git on projektien versionhallintaohjelmisto. Voit käyttää sitä hypätäksesi takaisin vanhoille tallille tai työskennelläksesi projektissa useiden ihmisten kanssa.
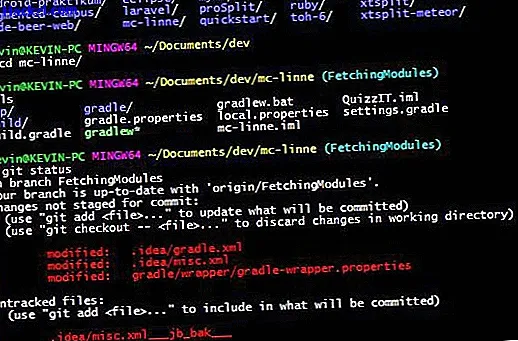
- Voit käyttää joko Git-käyttöjärjestelmääsi komentorivillä tai Github Desktop -sovelluksessa, Git-asiakasohjelmassa, jolla on graafinen käyttöliittymä. Sinun on tiedettävä seuraavat komennot käytettäessä Git:
- git-klooni [URL]: Klooni Git-arkisto URL-osoitteesta paikalliselle tietokoneellesi.
- git init: Alusta Git-projekti paikallisesti. Voit halutessasi ladata tämän myöhemmin Githubiin tai muuhun isäntään.
- git add: Lisää tiedostoja tarkkailuluetteloon. Tämä vaihe on pakollinen, jotta työsi voidaan sitten ladata arkistoon.
- git sitoutu: sitoudu muutoksiin. Tämä on koppi, johon voit palata milloin tahansa. Sijoita tiedostot ennen niiden lähettämistä etävarastoon.
- git push: push-toiminnolla lähetät kaikki sitoumukset etävarastoon Githubin tai valitun muun palvelimen palvelimilla.
Opetusohjelma: mikä on github?
Github on isäntä Git-projekteillesi, ja sillä on samanlaisia ominaisuuksia kuin sosiaalisessa verkostossa.
- Gitin avulla voit käyttää Githubiin tallennettuja projektejasi mistä tahansa.
- Githubiin tallennetut arkistot ovat aina julkisia. Joten muut käyttäjät voivat nähdä projektisi. Yksityiset säilytystilat ovat saatavissa vain kuukausimaksulla.
- Voit myös osallistua olemassa oleviin ohjelmiin korjaamalla virheitä ja osallistumalla aktiivisesti avoimen lähdekoodin työkaluihin.
- Githubia käytetään enimmäkseen laajoissa projekteissa tietyillä ohjelmointikielellä. Githubissa on kuitenkin mahdollista hallita myös yksinkertaisia asiakirjoja.
Opastus: Gitin ja Githubin asentaminen
Ennen kuin voit aloittaa Gitin ja Githubin kanssa, tarvitset Github-tilin ja sinun on asennettava Git paikallisesti. Näin:
- Luo ensin tili Githubissa. Tämä on melko yksinkertaista, ja se voidaan tehdä nopeasti ja helposti.
- Jos haluat käyttää Githubia tuottavasti, tarvitset nyt Git -sovelluksen paikallisella tietokoneellasi.
- Asenna nyt Git. Valitse asennusohjelma, jota tarvitset käyttöjärjestelmällesi.
- Käynnistä juuri Windowsille asennettuna Git Bash. Käynnistä normaali pääte MacOS- ja Linux-käyttöjärjestelmissä.
- Kohdassa 'git config --global user.name "[Name]"' 'sinun on nyt määritettävä nimesi.
- Aseta sähköpostiosoitteesi kuten aiemmin 'git config --global user.email "[Mail]"'. Käytä samaa postia, jonka määritit Githubissa.
Github-opetusohjelma: Aseta arkisto
Jos haluat aloittaa projektilla, voit luoda arkiston kahdella tavalla:
- Luo uusi arkisto napsauttamalla Githubissa pikkukirjaa käyttäjänimesi vieressä.
- Anna projektille nimi täällä. Kuten yllä on kuvattu, sinun on julkistettava projekti tai maksettava kuukausimaksu.
- Napsauta sitten vihreää "Luo arkisto" -painiketta. Voit sitten lisätä arkiston paikallisesti git-kloonilla yllä kuvatulla tavalla.
- Luo arkisto paikallisesti git init -sovelluksella. Voit sitten linkittää paikallisen ja online-repo-sovelluksen 'git remote add origin // github.com/[Käyttäjänimi ^/ъProjektinimi ^.git').
- Sinulla on nyt online-arkisto Githubissa, jotta voit hallita projektejasi ja käyttää niitä mistä tahansa.

Kuinka käyttää merkintää readmesiin Githubissa, voit lukea seuraavasta käytännön vinkistä.